STEP 1 - Get your materials
You will need…1. Correct-sized stencil of your choice
2. Thick painter's tape (2in)
3. Chalk paint (for base)
4. Chalk paint (for top)
5. Large roller and pan (for base)
6. Small foam roller and pan (for top)
7. Caulk
8. Caulking gun
9. Water-based sealer (Polyurethane)
10. Time and patience!
STEP 2 - Clean your floors and tape your baseboards.
Choose your stencil. Royal Design Studio has so many beautiful ones. The wall stencils are large so there is lots of coverage.
STEP 3 - Add 2 layers of base chalk paint allow to dry thoroughly between layers!
Painters tape works but if it’s your first time, try a light adhesive in addition. It will help the stencil stick and reduce bleed.
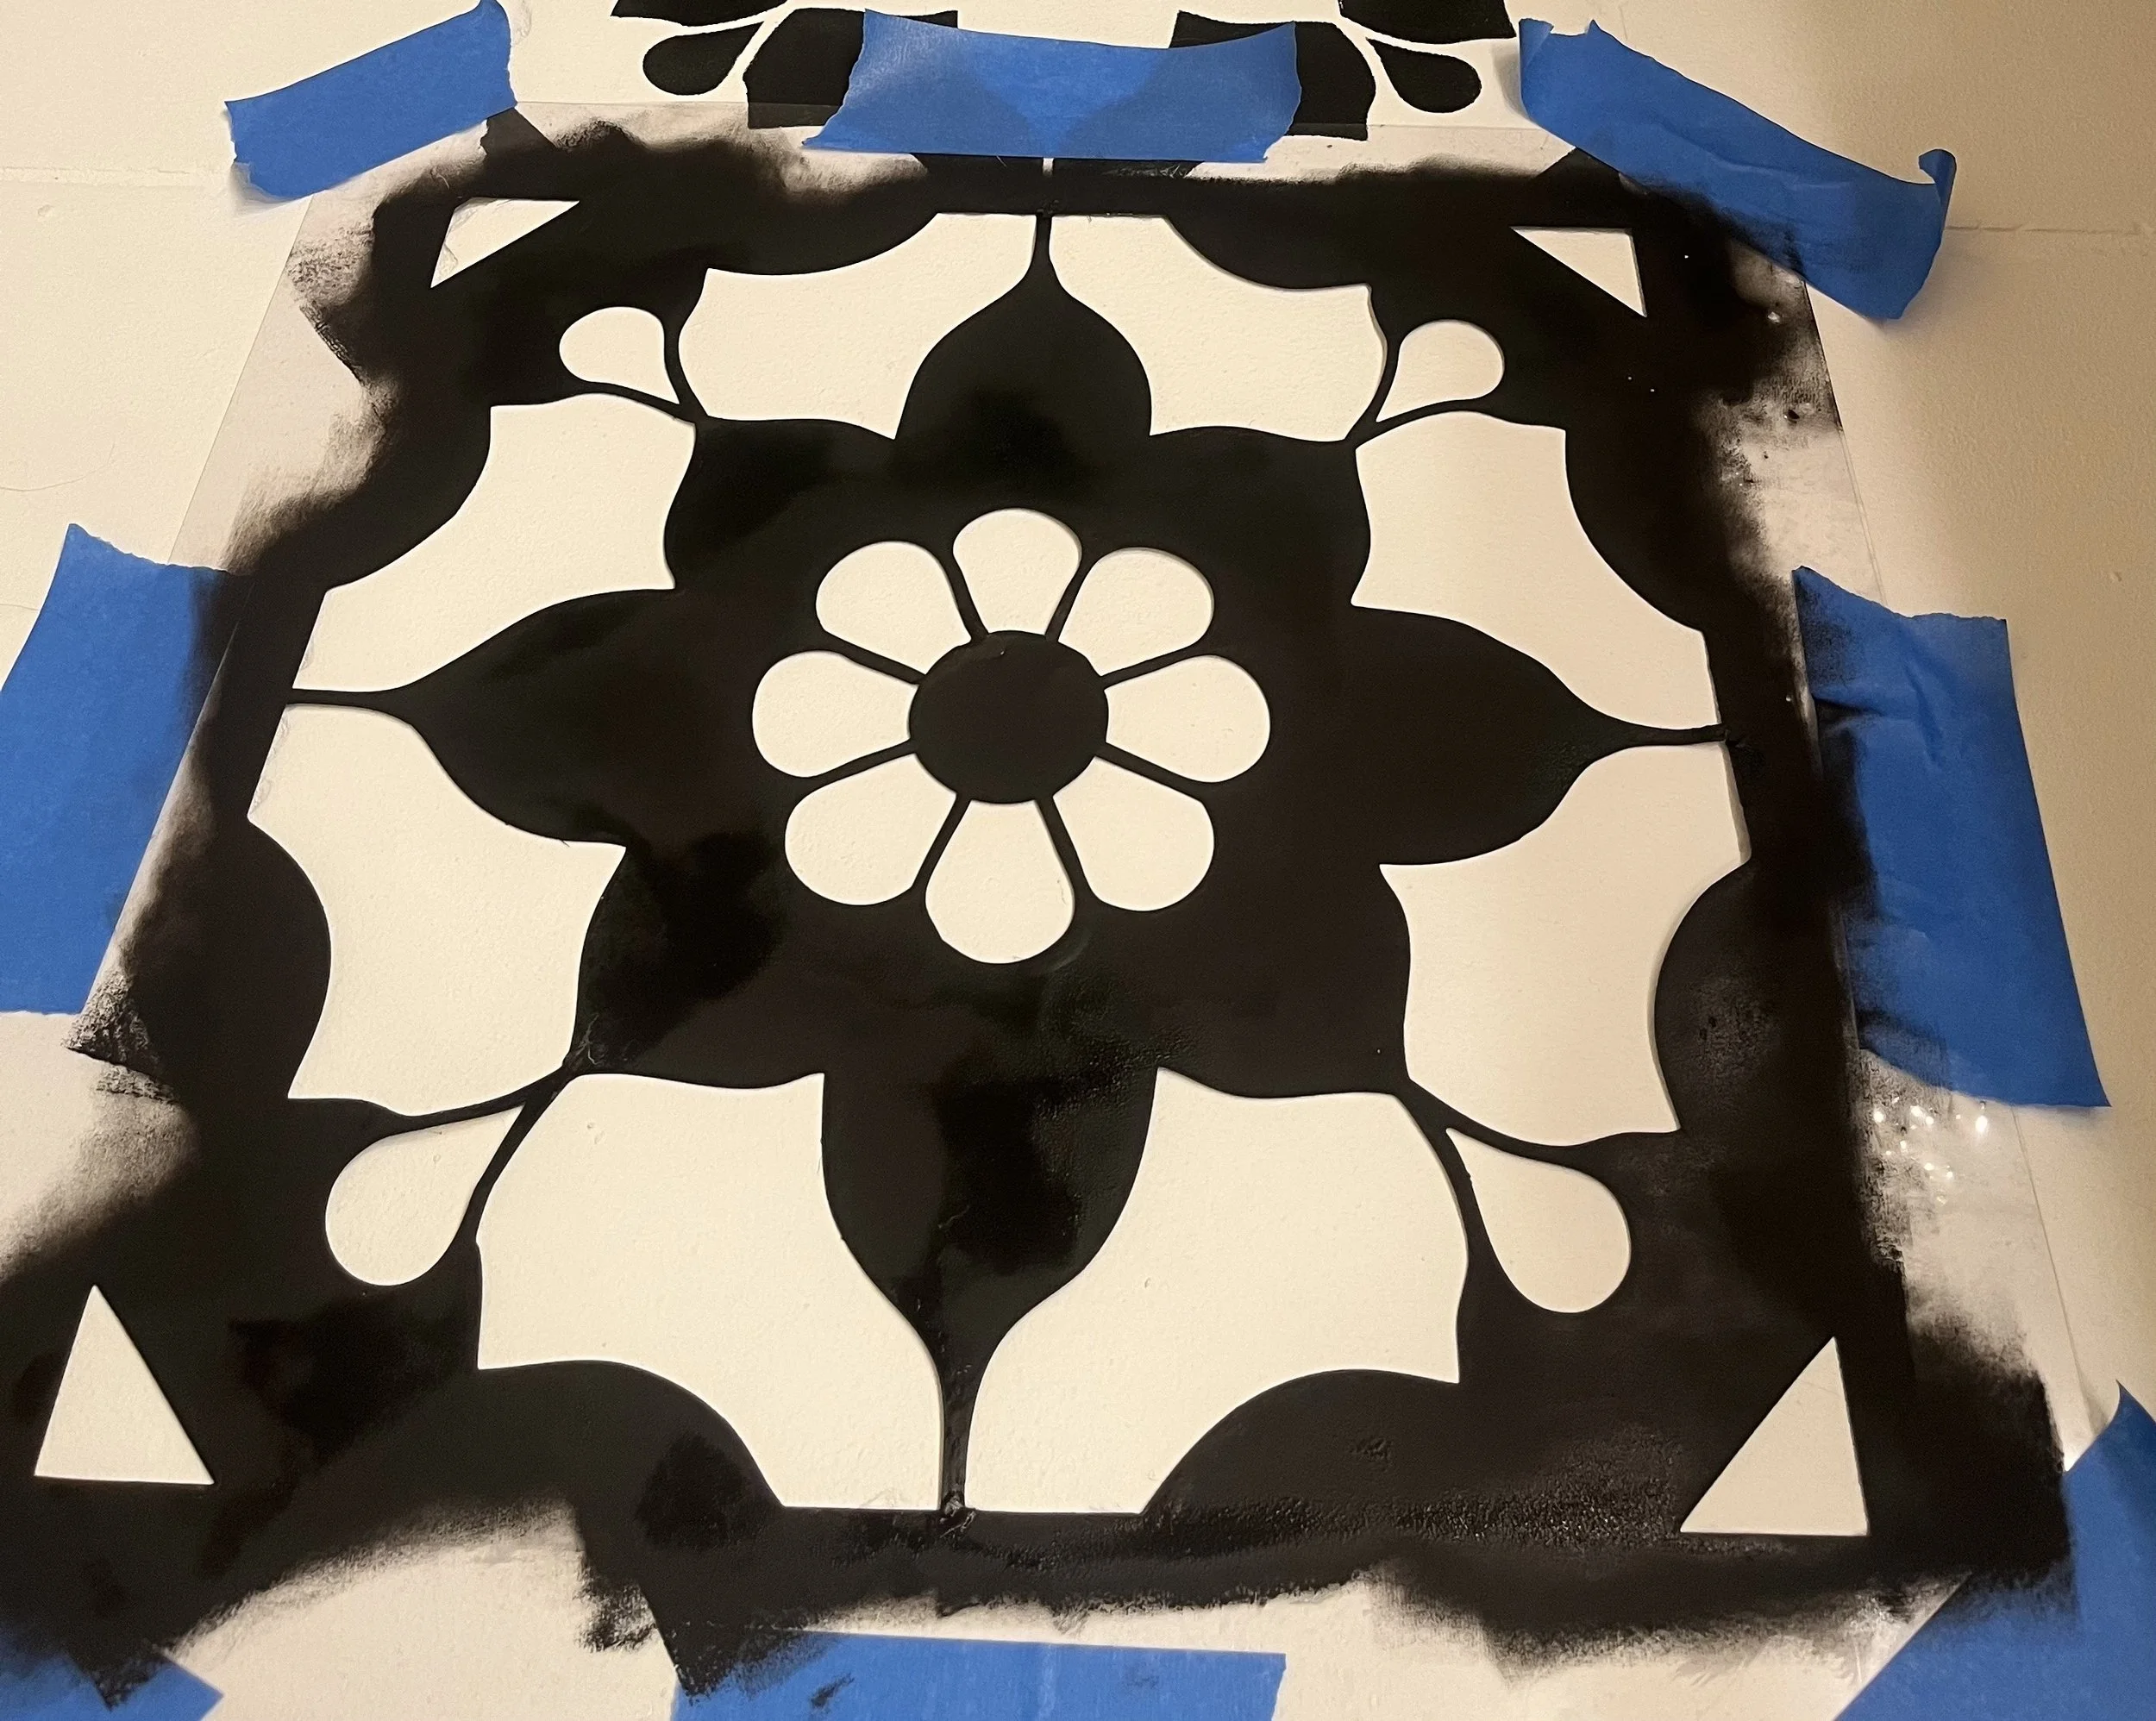
STEP 4 - Tape your stencil to the floor and apply top layer of chalk paint.
This is the fun part! Use a small foam roller set with tray. Available here. You only need a little bit of paint. Be careful not to use too much or it will bleed under your stencil and you won’t have clean lines.
STEP 5 - Stencil all large tiles first
Stencil across the floor and work your way toward the door allowing the paint to dry as you go.
STEP 6 - Cut your stencil
Cut your stencil to fit the next size tile (behind toilet, sink, etc.) Cut your stencil again for the smallest tiles if necessary.
Step 7: Caulk
Add your pricing strategy. Be sure to include important details like value, length of service, and why it’s unique.
Step 8: Seal
Add your pricing strategy. Be sure to include important details like value, length of service, and why it’s unique.
Step 9: Enjoy
Add your pricing strategy. Be sure to include important details like value, length of service, and why it’s unique.


